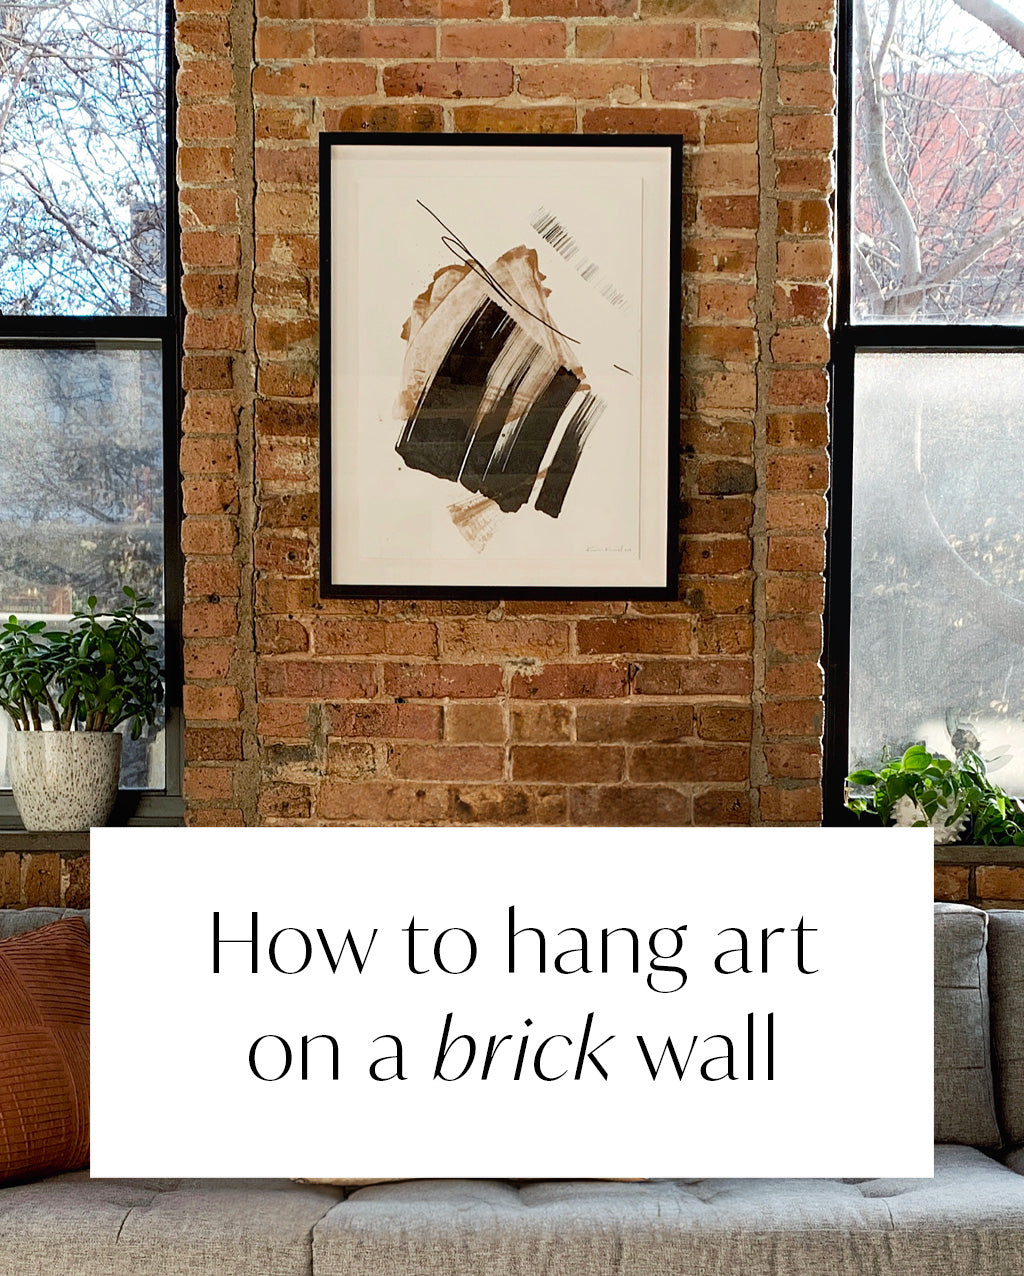
Artwork (above): It's A Beach Day #1
Hanging artwork on a brick wall might seem like a big task, especially if you’ve never done it before. But it's not that bad and only requires a few extra steps. Once you know how to do it, you won't let that wall intimidate you ever again. Just follow these steps on how to hang a picture frame on a brick wall and you should be all set!
You'll need:
- Your artwork
- Painter's tape
- Drill
- Masonry Drill Bit (sized to fit your screws or anchors)
- Screws + Anchors
- Level
- Marker
- Hammer
- Tarp or newspaper (optional)
Step 1: Prep your area and plan your wall
Move any furniture away from the brick wall so little pieces of brick don't land on it and so you have room to move. You can lay down a tarp or newspaper if you want to protect your floor or have an easier time cleaning up.
Next, plan out your wall. Are you hanging a gallery wall (many frames) or just one or two frames? Either way, it helps to plan where you want to hang your piece(s). Use painter's tape to try multiple layouts to see what your wall will look like before you commit and start making holes in the wall.
Step 2: Mark the location on the wall where your holes will go
Now that you know where the artwork will go on the wall, you'll want to figure out where the holes need to go. To start, it's important to figure out how many holes you'll need to hang. Is it a large piece that has a wire across? In that case, one hole will do the trick. But if it has multiple D-rings or sawtooth hangers, you'll need as many holes as there are hooks. Two screws are usually necessary for artworks 30" x 40" or larger to ensure balance and proper support.
Once you've figured out how many holes you need, take a marker and note where your frame will attach to the wall. Make sure that you account for how high or low you want the piece to hang. It's also a good idea to use a level to make sure that any holes you make are even.
Step 3: Drill into your marked locations
Next, grab your drill and masonry drill bit. A masonry bit is designed specially for concrete, stone, and brick. For smaller artworks, an anchor is likely not necessary. In these cases, use a masonry drill bit that is equal to the width of your screw.
For large artworks, an anchor is recommended to make sure the screw stays in the wall and to provide extra security. The weight of a large artwork can pull it out of the wall if there's no anchor in place. When using an anchor, use a masonry drill bit that equals the width of your anchor.
Drill deep enough to accommodate the length of the screw or anchor that you’re using, making sure to move slowly to avoid overheating your drill. You may need to take breaks. Do this in each area that you’ve marked. Once you’ve drilled the holes, remove the debris with a dry cloth.
Hammer the anchors in the holes you just made if you're using them.
Step 4: Drill your screws into the anchors
Next, take your screws and drill them into the anchors, making sure you leave enough screw away from the wall to hang the cord on or to attach the screw eyes to. 1/8 to 1/4 inch of extra space is usually just enough to hang your piece.
Step 5: Hang your artwork and make sure it's level
Tighten your screws and then hang your piece. Once it’s up, make sure it’s level. If this whole hanging process seems daunting—or you’re unwilling or unable to make holes in the brick walls of your space—you could give brick clamps a try. Both handy and inexpensive, these hooks grab onto your brick without any tools. Make sure you measure your brick before you buy since they’re available in a range of sizes.


